To Install CrystalMaker on a Windows Operating System:
1. Log in to TigerWare to download CrystalMaker.
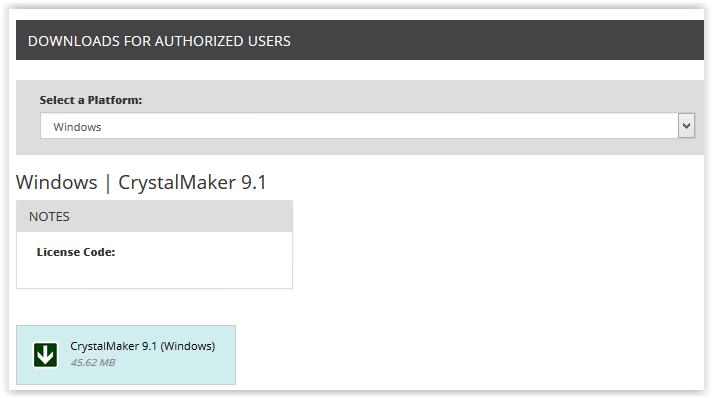
2. Under Download for Authorized Users, Select Windows or Mac for Platform, and for Select a Version, select CrystalMaker 9.1 or CrystalMaker 9.2.7

3. At the bottom of the page, click the button labeled CrystalMaker 9.1 (or CrystalMaker 9.2.7) to start the download.
4. A download button should appear in the bottom left of the browser. When it is done downloading, click the button and open the program.
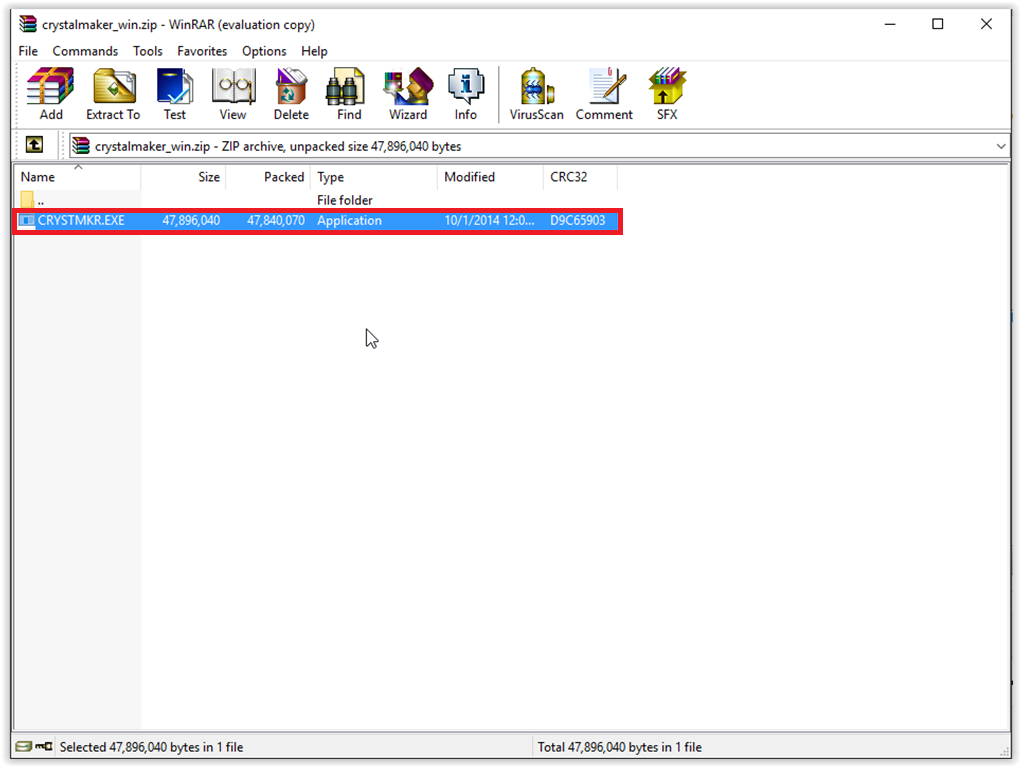
5. The WinRAR client will open up. Double click the CRYSTMKR.EXE application to launch the CrystalMaker Wizard.
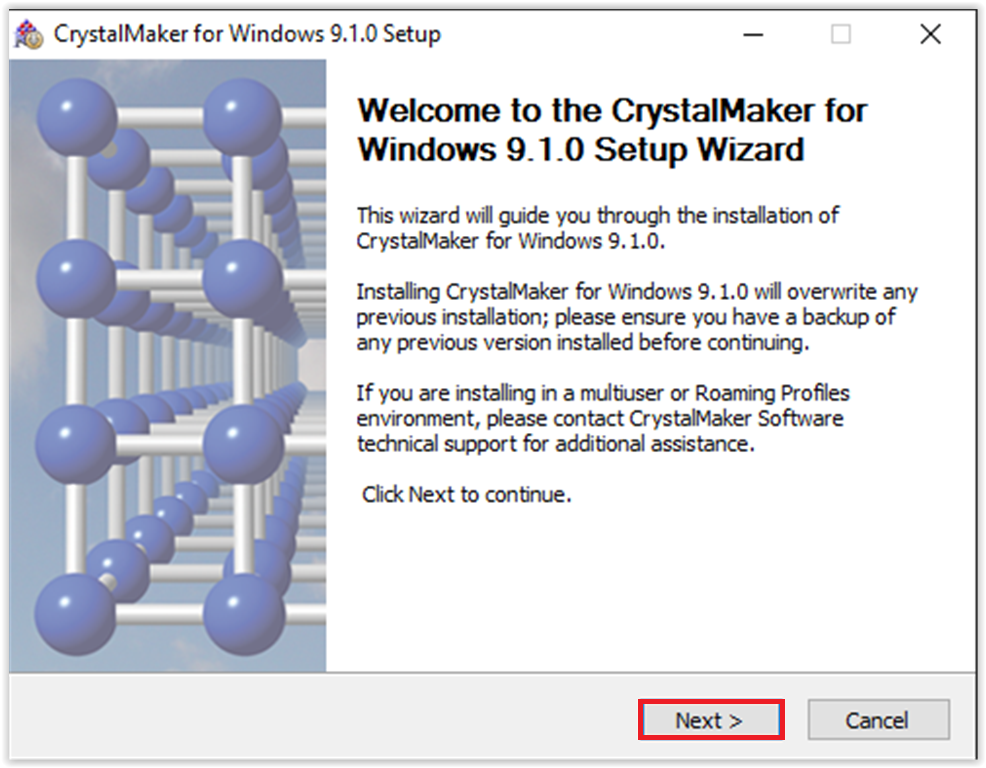
6. The Setup Wizard should open up. Click Next to continue.
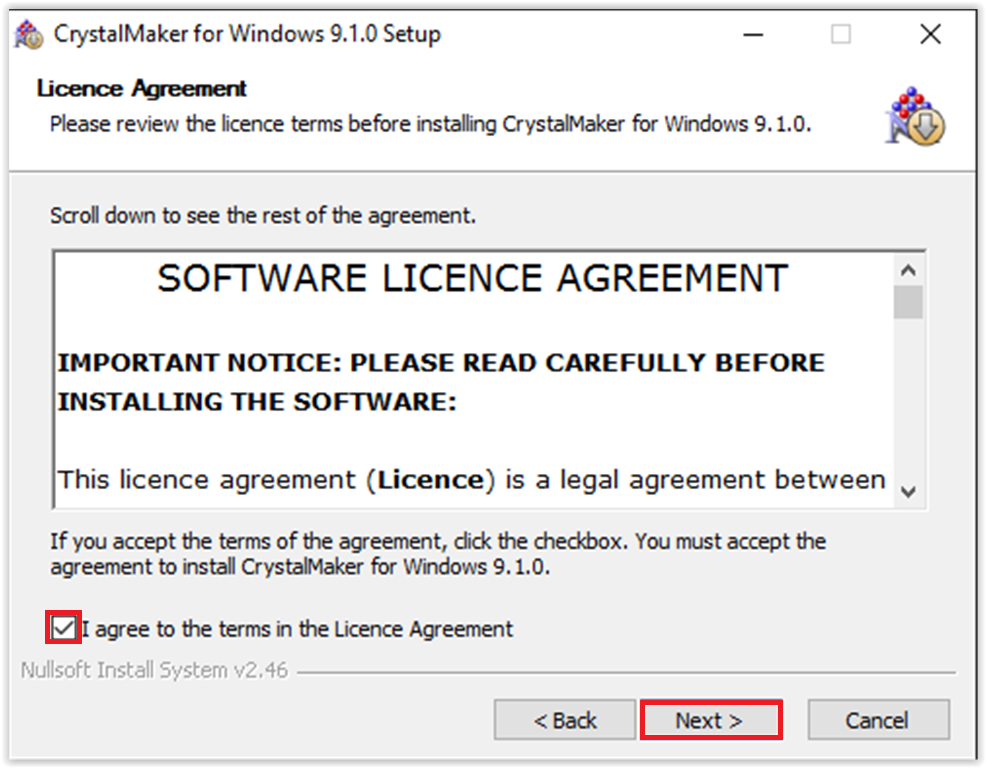
7. The License agreement will appear next. Click the checkbox agreeing to the terms of the License Agreement. Click Next to continue.
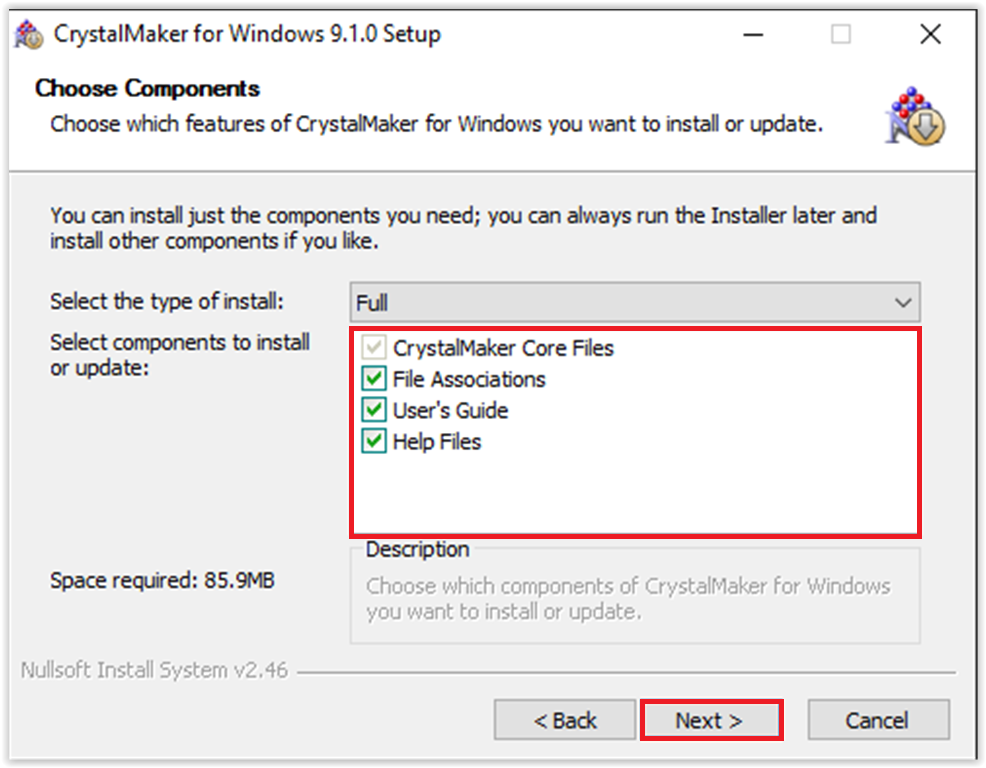
8. The Choose Components will appear after. Choose which components of CrystalMaker that you wish to install. If you wish to install all of them, leave everything alone and click Next. If you wish to download specific components. Check or unchecked the desired checkboxes and click Next to continue.
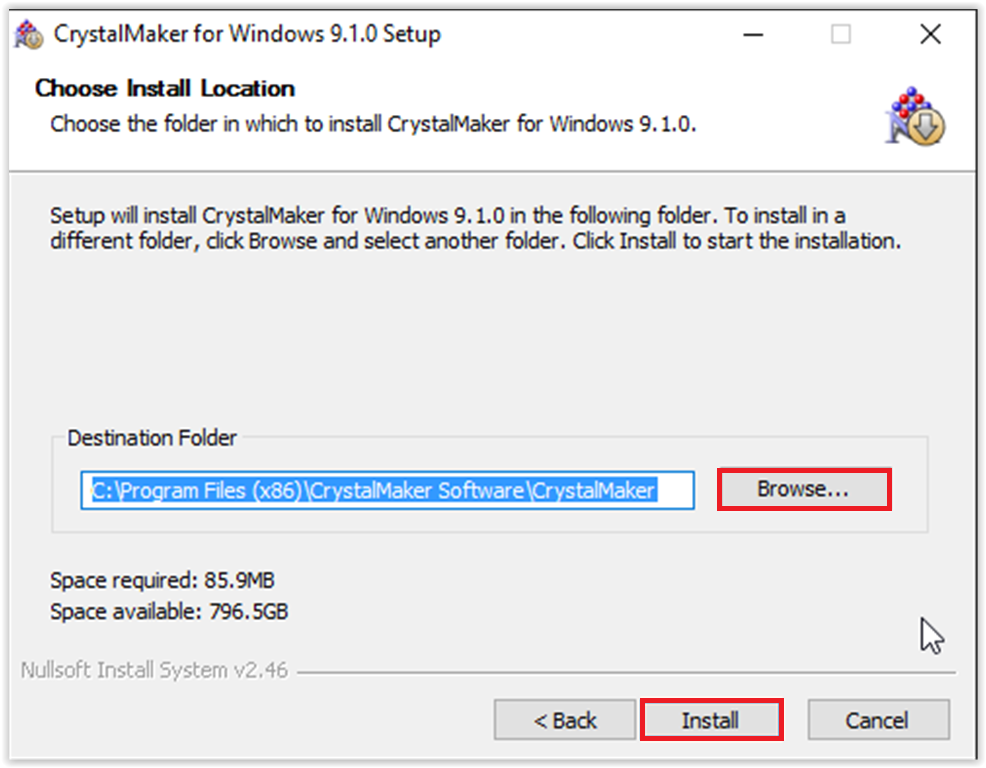
9. The Install Location will appear after. If you wish to change the location of where the program will download click Browse. When done, click Install.
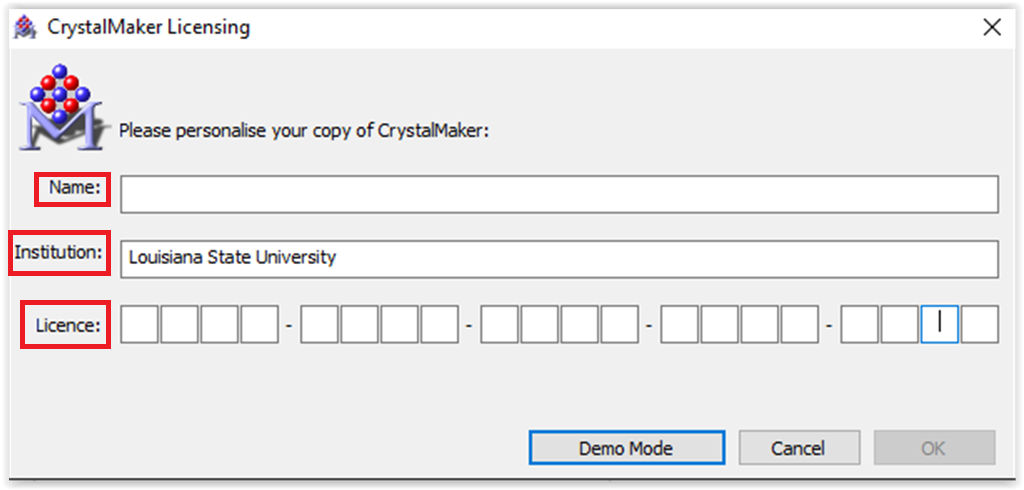
10. During installation, the program will ask for you name, institution, and license number. The name is your MyLSU ID (mtiger1), the institution is Louisiana State University, and the License Number can be found on TigerWare where the initial download button is. Click OK when you are done.
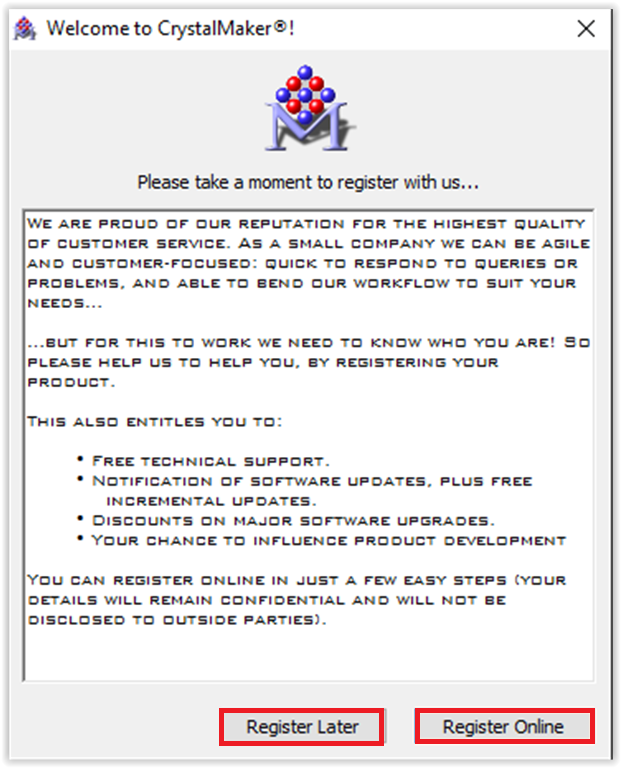
11. Before the download continues, the program will ask you wish to Register Online or Register Later. Choose which one you will rather do by clicking the button that goes along with that choice.
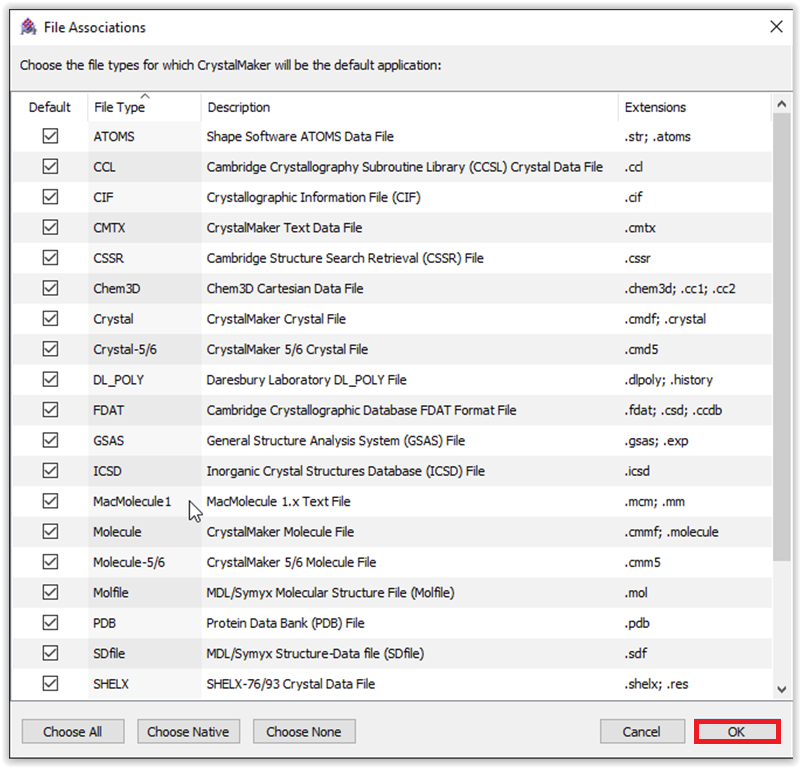
12. At the end of the download, a File Associations screen will pop up. Keep all the boxes checked and click OK.
13. When the installation is done click Next. The final screen will pop up. Click Finish to finish and launch CrystalMaker.
Referenced from: CrystalMaker