EndNote X9: Installation Instructions (Windows)
This article has not been updated recently and may contain dated material.
To Install EndNote X9 on a Windows Operating System:
1. Log in to Tigerware.
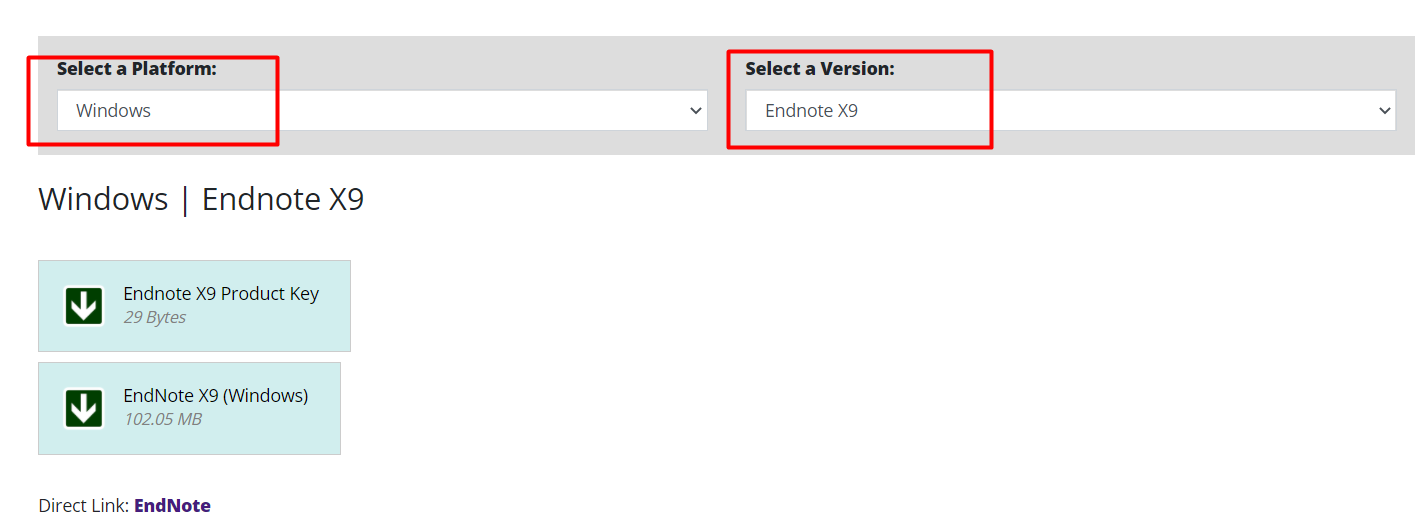
2. Download the EndNote X9 (Windows) installer and Endnote X9 Product Key from the bottom of the page. Ensure that your correct platform (Windows) and version (Endnote X9) are selected.
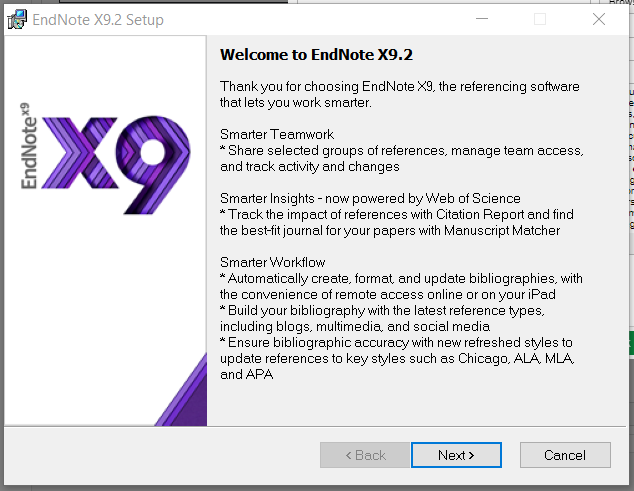
3. Click on the ENX9Inst.exe file. Click Next.
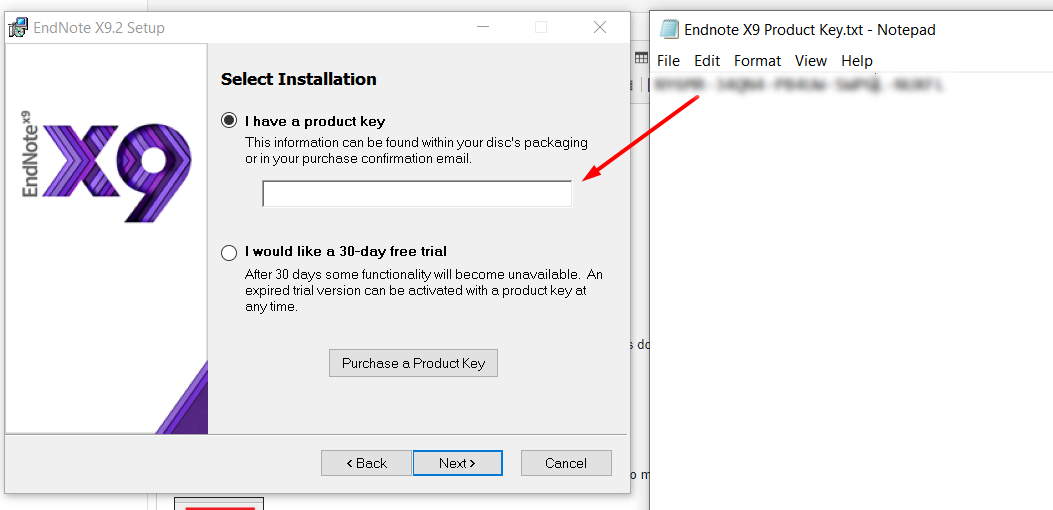
4. Select "I have a product key". Open the Endnote X9 Product Key that was downloaded from Tigerware and instead of that key into the blank.
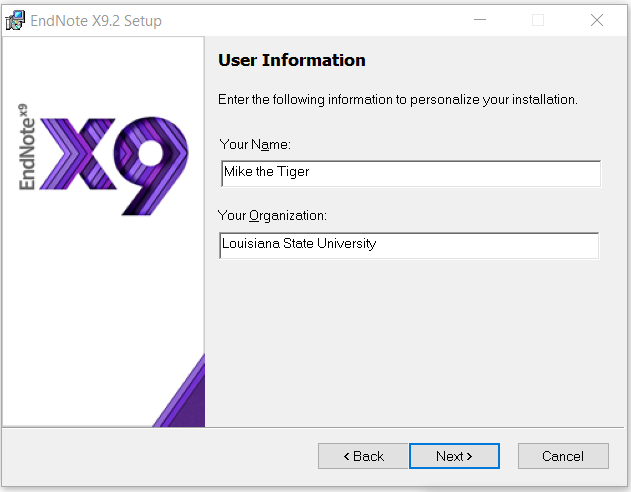
5. Type in the user information.
6. Click Next when you are finished reading through the Read Me Information.
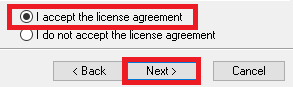
7. Click I accept the license agreement to proceed and click Next.
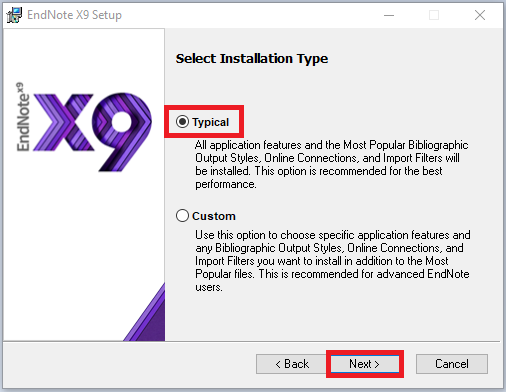
8. Select your installation type, most users will select Typical. If you are an "advanced EndNote user", you may want to select Custom. Then click Next.
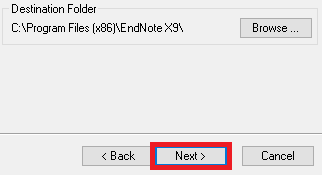
9. Enter a destination folder for your installed product, or continue with the default install path (recommended). Select Next.
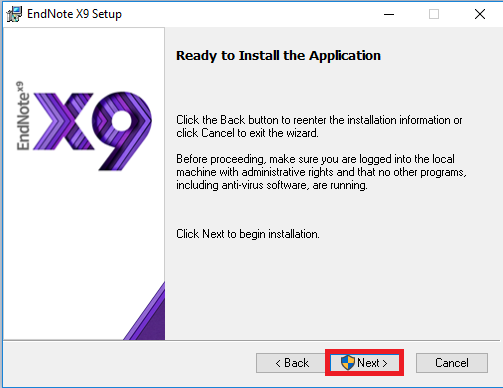
10. As with most application installations, you may wish to close any other open applications. Select Next to begin the installation.
Note: You may be prompted once again to allow this app to make changes to your computer. If so, select Yes.
11. Your program is now installed, select Finish to exit the installer.
19811
12/20/2023 11:36:22 AM