EndNote X8: Installation Instructions (Windows)
To Install EndNote X8 on a Windows Operating System:
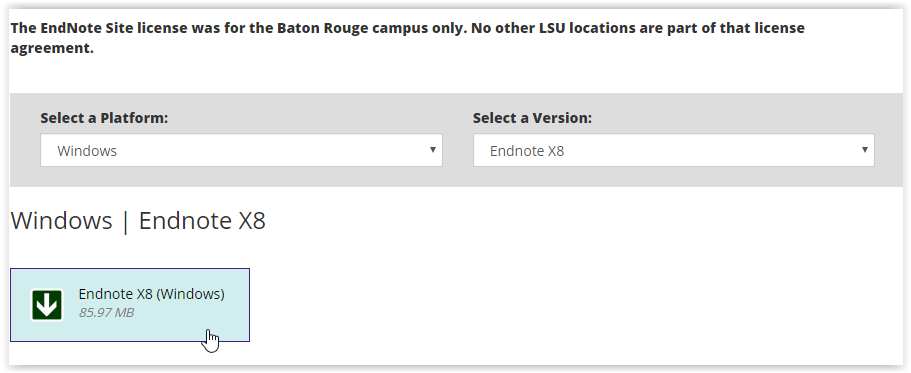
1. Log in to TigerWare.
2. At the bottom of the screen, choose Windows and click the EndNote X8 installer.
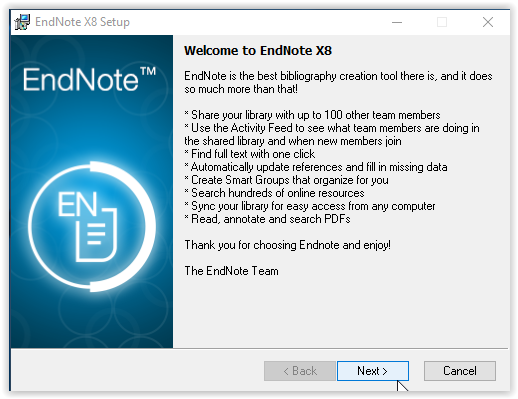
3. The installer will open. Select Next at the bottom of the screen to begin installation.
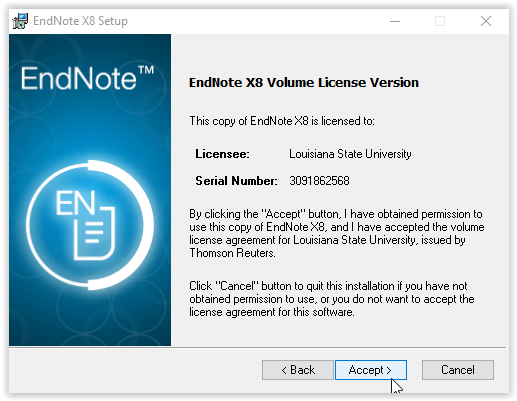
4. The License screen will appear. Click Accept.
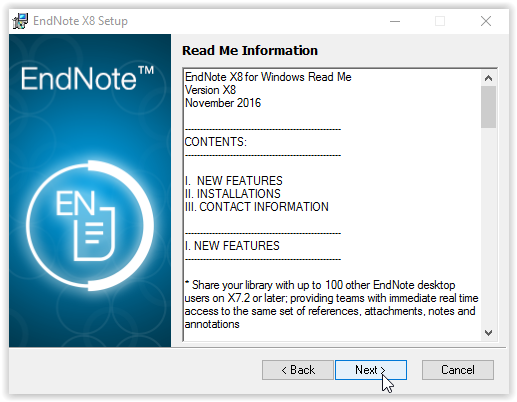
5. Review the Read Me Information screen, and click Next.
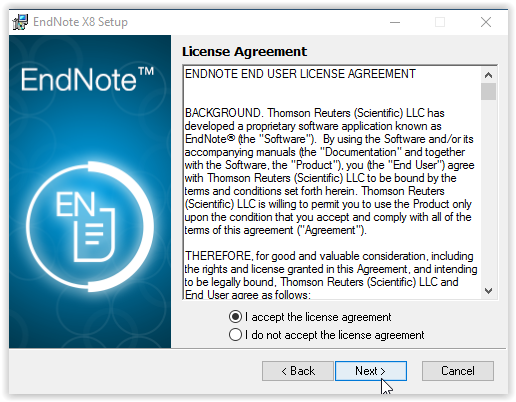
6. Read the License Agreement, click "I accept the incense agreement" and select Next at the bottom of the window to continue.
7. Choose your Installation Type, and click Next at the bottom of the screen.

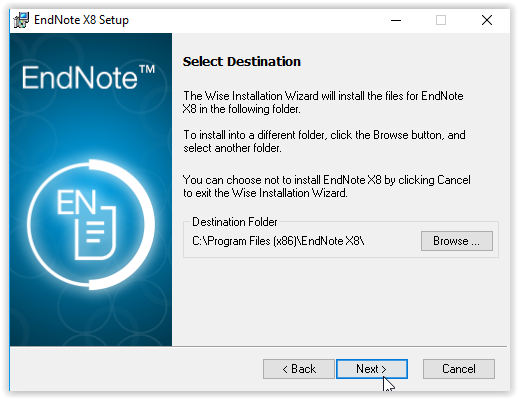
8. Pick your Destination Folder, and click Next.
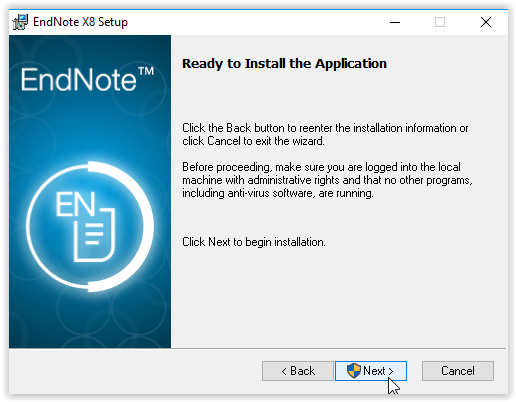
9. Click Next to begin installation at the bottom of the screen.
10. Wait for the installer to download the program.
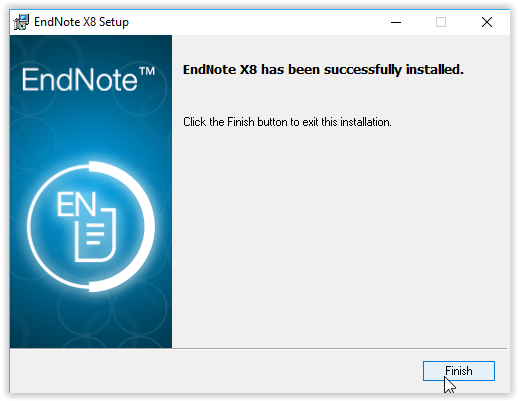
11. EndNote X8 should now installed on your computer.
Referenced from: EndNote.com
19475
8/11/2025 12:58:04 PM