ArcPad: Installation Instructions (Windows)
This article has not been updated recently and may contain dated material.
To Install ArcPad on a Windows Operating System:
1. Log into TigerWare.
2. Click the green Download button under Downloads for Authorized Users.

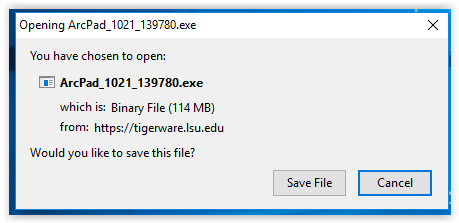
3. Click Save File to begin downloading.
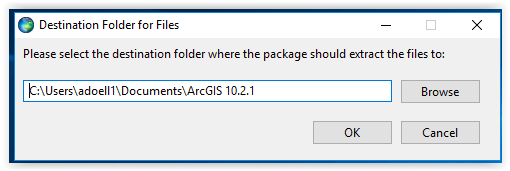
4. Select the destination folder where files will be saved, then click OK.
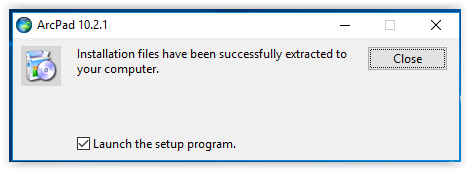
5. Once a folder is selected, a dialog box will appear saying that the installation files have been successfully extracted. Make sure the Launch the setup program box is checked, then click Close.
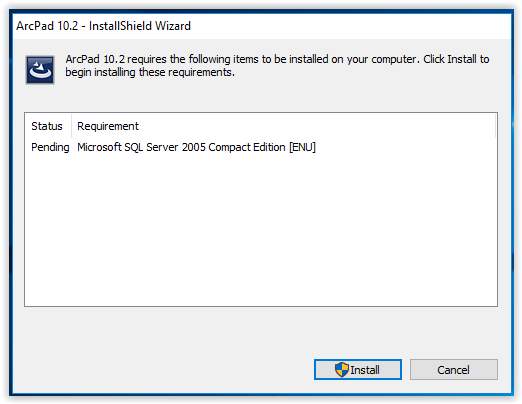
6. ArcPad may require other items to be installed in order to download. If so, click Install.
7. If prompted, select Yes to allow changes to be made to the computer.
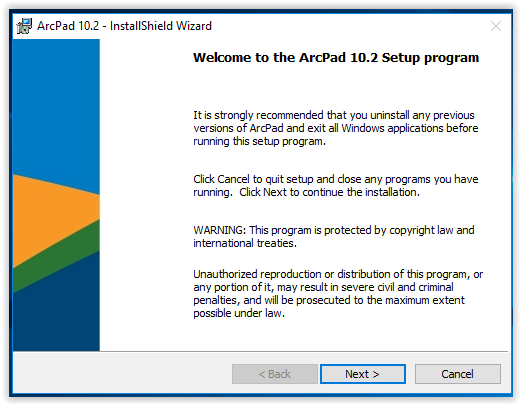
8. ArcPad setup window will appear. Click Next to begin the installation process.
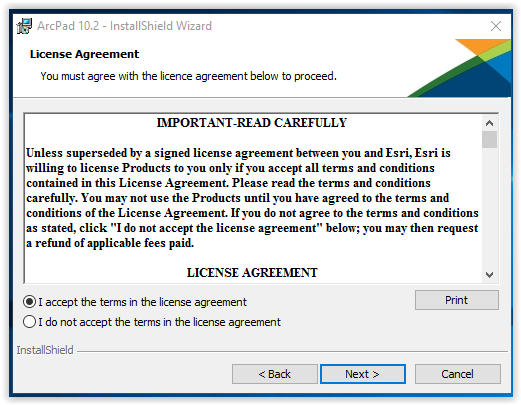
9. Select the I accept bubble under the License Agreement, then click Next.
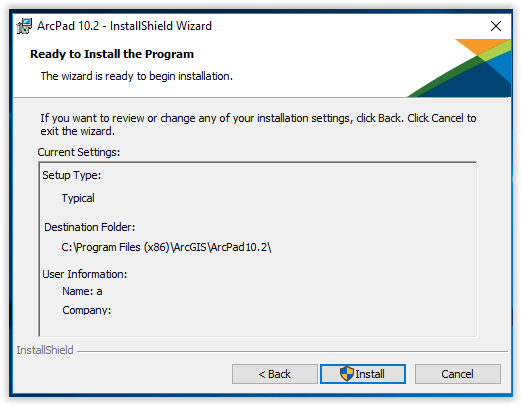
10. Program is ready to be installed. If installation settings are not correct, click Back. If they are correct, click Install.
11. If prompted again, select Yes to allow changes to be made to the computer.
12. Program will begin installing.

13. When complete, click Finish.
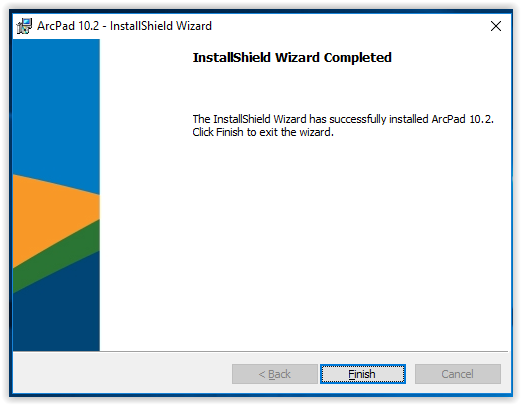
14. Program is now installed on the device.
Referenced from: ESRI
18790
3/20/2024 8:56:46 AM