This article explains how to allow people to send email on your behalf using the Outlook for Windows desktop application (2010, 2013, or 2016) or in Outlook Web Access (OWA).
To jump to the instructions for Desktop Outlook, please click: Delegate a Folder in Outlook Desktop
Secondary account owners can request delegate mailbox access to full-time LSU faculty and staff via service catalog https://itservice.lsu.edu/TDClient/30/Portal/Requests/ServiceDet?ID=647&SIDs=83
To delegate access on Mac, please see the following article: Outlook 2016 (Mac): Assign Delegate and Edit Permissions
To Delegate Email Access in OWA:
1. Open OWA (mail.lsu.edu) in your browser and sign in.
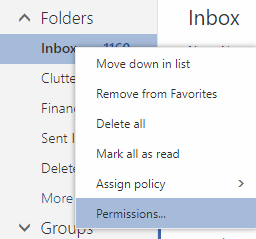
2. In the Folders menu, right click Inbox and select Permissions...
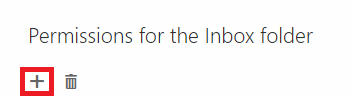
3. In the Permissions for the Inbox folder window, click the + icon located near the top left of the window.
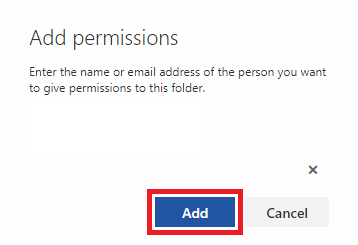
4. In the Add permissions window, search for and select the person to whom you wish to grant delegate access, then click Add.
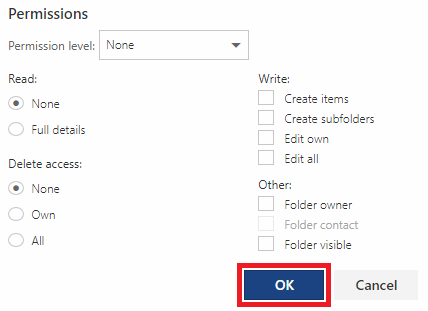
5. When the Permissions for the Inbox folder window appears, configure the permissions you wish to grant to the delegate(s), then click OK to finish.
6. To let others know how to access the email that you have now delegated, please see the following article: Access a Delegated Folder
To Delegate Email Access in the Desktop Application:
1. Open the Microsoft Outlook desktop application and sign in.
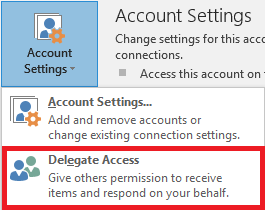
2. In the File tab, click Account Settings and then Delegate Access.
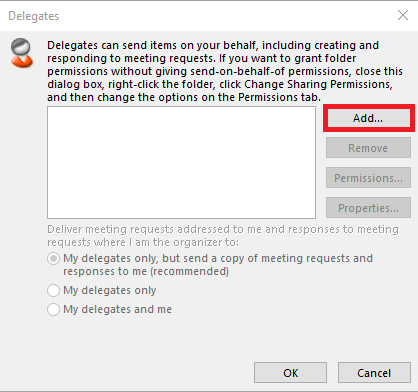
3. The Delegates window will appear. Click Add...
4. In the Add Users window, select all users to whom you wish to grant delegate access, clicking the Add -> button after each selection. Click OK when done.


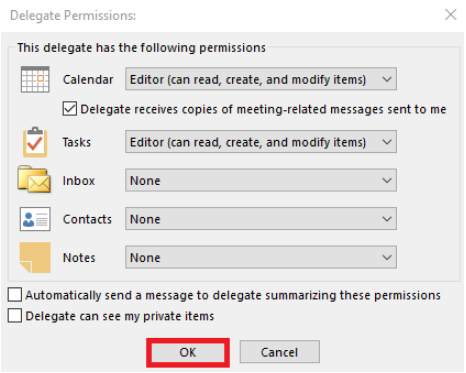
5. When the Delegate Permissions window appears, configure the permissions you wish to grant to the delegate(s), then click OK.
6. The Delegates window from step 3 will appear. Click the OK button to finish. If you wish to modify a delegates permission at a later time, return to the Delegates window, select a user, and click Permissions...
7. To let others know how to access the email that you have now delegated, please see the following article: Access a Delegated Folder
Referenced from Indiana University and University of Southern California