This article goes through the steps of implementating a renewed TLS (SSL) certificate for Microsoft Internet Information Services (IIS) version 7 and above.
1. Download the renewed certificate from https://pki.its.lsu.edu and move it to the target server. Download the Certificate Only option.
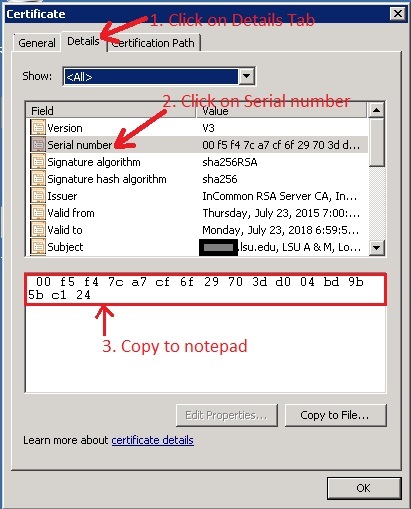
2. Double click on the downloaded certificate file. Go to the Details tab and click on Serial number. In the information pane, highlight and copy (CTRL + C) the serial number and paste it into notepad. The serial number will be needed later:
3. Open the Command Prompt (cmd) as administrator. For Server 2012 and 2012R2, press Windows Key + x then select Command Prompt (Admin) on the popup menu. For Server 2008 and 2008R2, click the Start button and search for cmd. Next, right click on Command Prompt and click on Run as administrator:
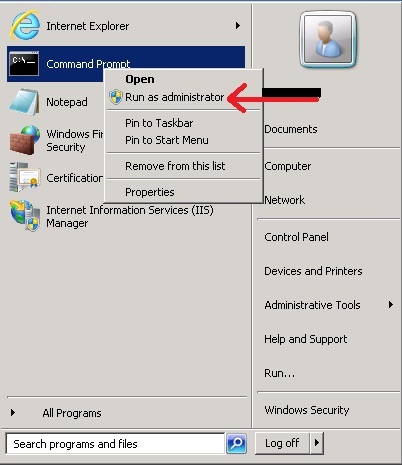
NOTE: The Command Prompt must be running as administrator before continuing.
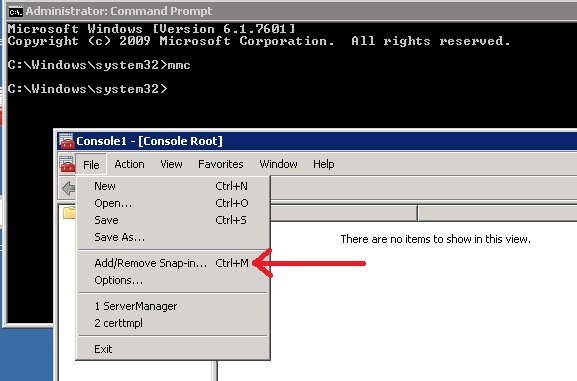
4. In the Command Prompt, type mmc then press Enter.
5. In Microsoft Management Console, click File -> Add/Remove Snap-in...
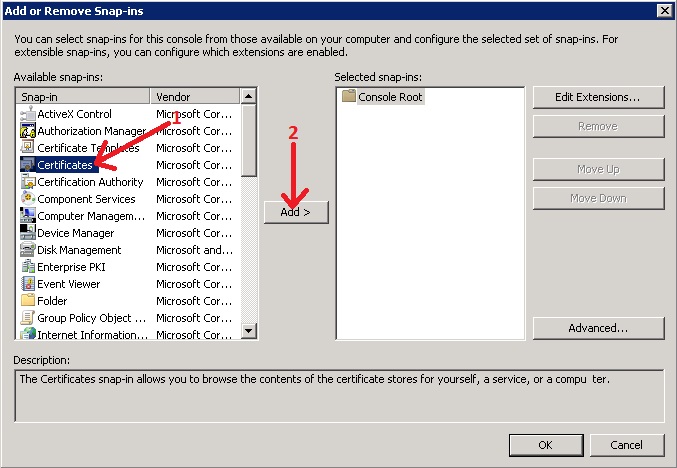
6. In the Add or Remove Snap-ins window, click on Certificates then click the Add button:
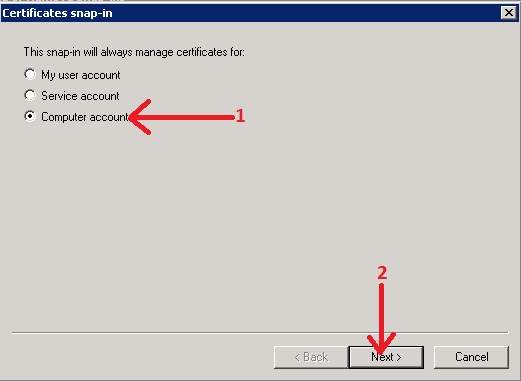
7. Select Computer account then click Next:
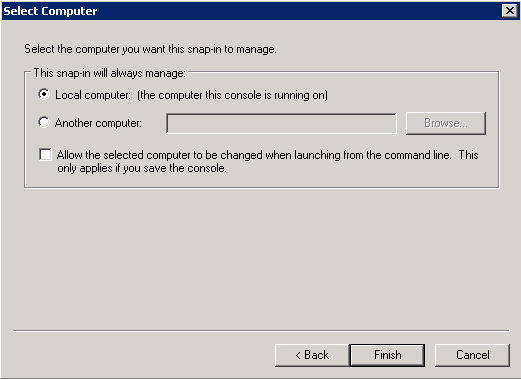
8. If you're already on the target server, simply click Next:
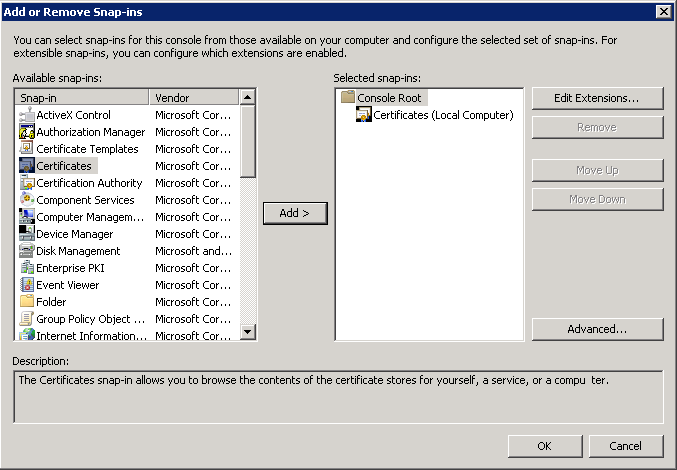
9. Click OK to close the Add or Remove Snap-ins window:
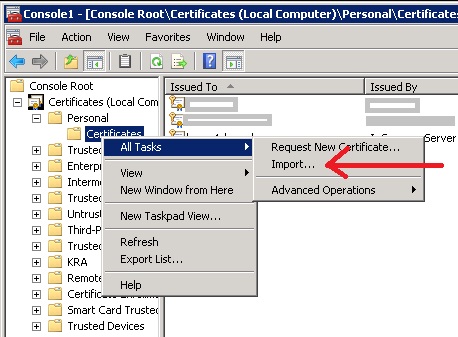
10. Expand Certificates (Local Computer) -> Personal folder, right click on Certificates folder, go to All Tasks, and click on Import...
11. Click Next on the Certificate Import Wizard welcome screen:
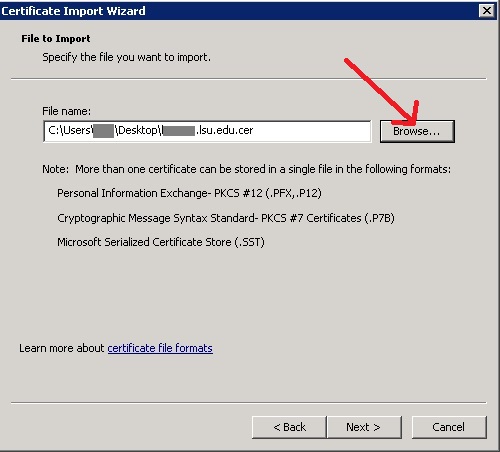
12. Click the Browse button, browse to the location of the downloaded certificate file in step 1, then click Next:
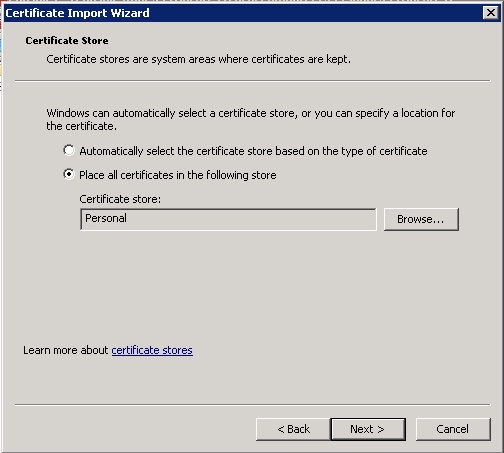
13. In most cases, take the default option for the certificate store and click Next:
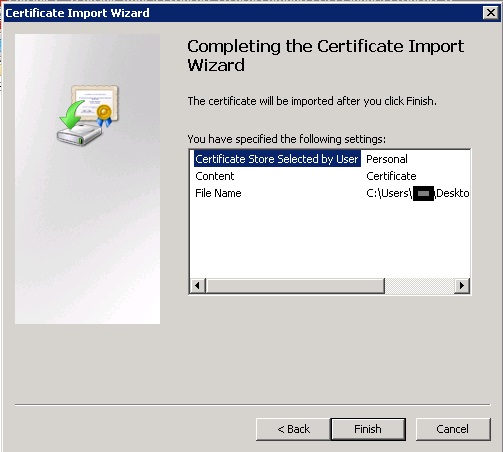
14. Click Finish on the summary window:
15. Back to the Administrator Command Prompt window opened earlier. Type certutil -repairstore my serialnumber Where serialnumber is the serial number of the certificate copied to notepad earlier. Remove all spaces:
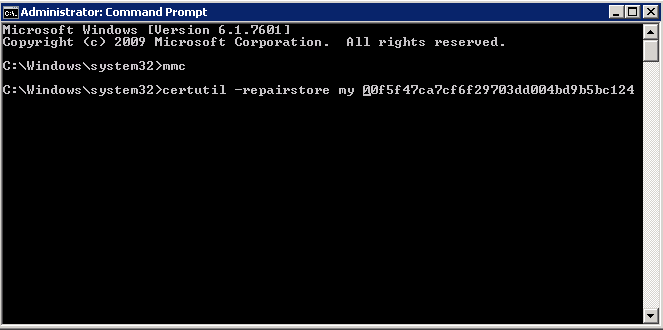
NOTE: The serial number in the picture above is just an example. Your certificate's serial number will be different.
16. Press Enter. Make sure certutil returns this line: CertUtil: -repairstore command completed successfully.

NOTE: If certutil is not successfull, make sure that the serial number is correct and that the certificate is correct for the server.
17. Open Internet Information Services (IIS) Manager. On the left, expand Sites and select the appropriate site. On the right, click Bindings...(1). In the Site Bindings popup window, click on the appropriate port (commonly https 443) (2), then click the Edit(3) button:

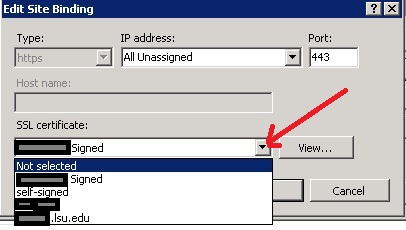
18. In the Edit Site Binding dialog box, click on the drop down under SSL certificate and select the certificate that was just imported. If there are multiple certificates, select one and click View... Compare the serial number of the selected certificate with the serial number in step 2 to make sure the correct certificate is selected.
19. Click OK to close the Edit Site Binding dialog box and click Close on the Site Bindings window.
20. On the right hand side and under Manage Web Site, click Restart to restart IIS.