SolidWorks 2014: Drawing a 3D Part
Archived Historical Data: Not Actively Maintained.
This article will provide a step by step guide to producing a three dimensional object in SolidWorks.
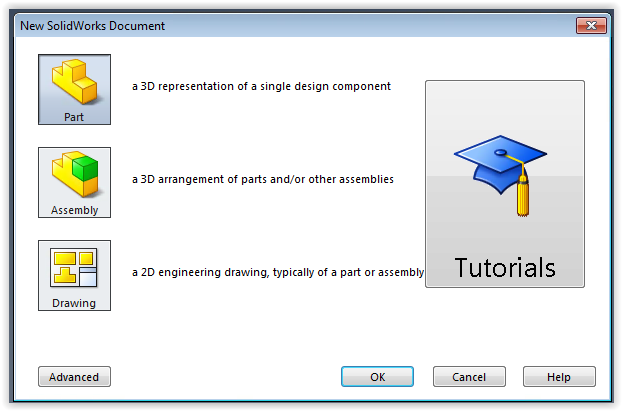
1. Select Part from the list of new projects
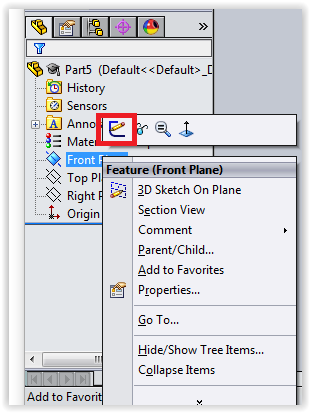
2. Select the plane (front, right, top) in which you would like to insert the drawing, right click and select the Insert Sketch button.
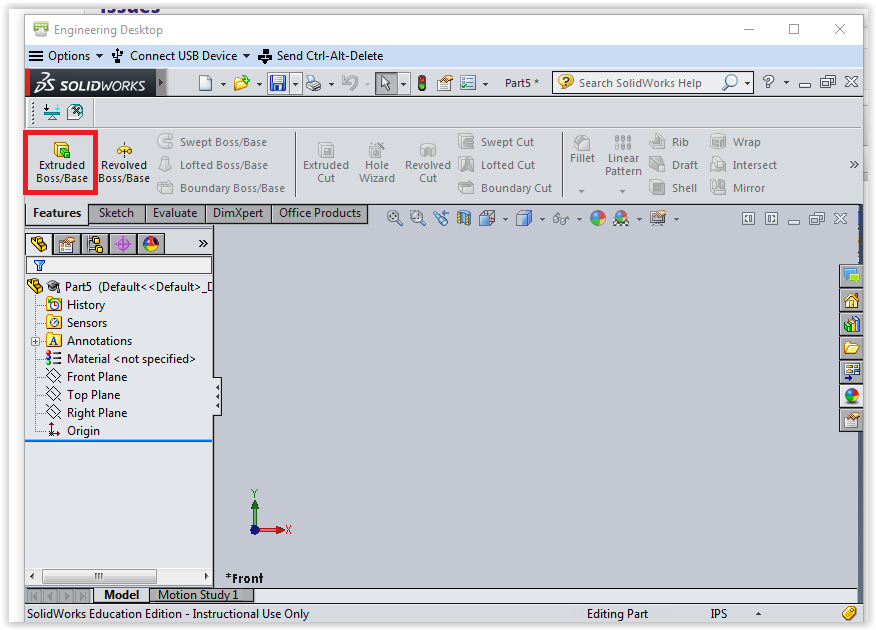
3. Draw 2D version of part then select Extruded Boss/Base.
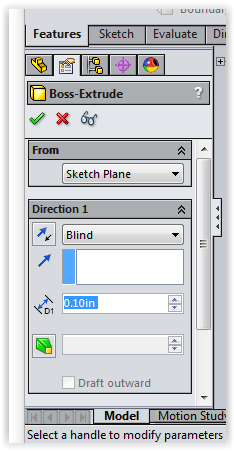
4. Select the direction, depth of object, and click OK (green check).
5. You should now see a 3D solid model of the shape you drew.
NOTE: To look at the part from different angles click and the hold the center scroll wheel on the mouse and move it around.
Referenced from: SolidWorks
7050
8/3/2016 12:09:28 PM