Maple18: Installation Instructions (Windows)
Summary:
Maple is a combination of a powerful mathematical computation program with a very user friendly and interactive, "clickable" interface. Maplesoft can also be used to create interactive applications, still with a technical and advanced base. Maplesoft is the only technical computing system that allows the user to take advantage of multithreading within other programs. To learn about this software visit the Maple Overview article.
To Install on a Windows Single User:
1. Download from TigerWare.
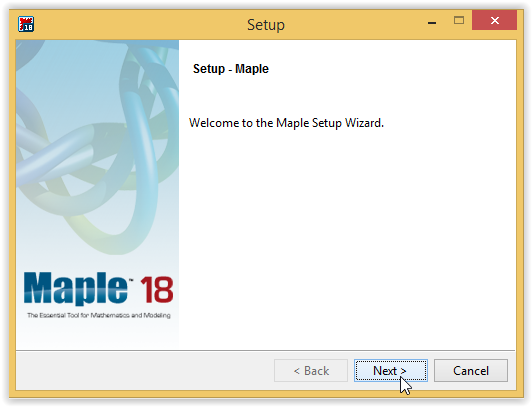
2. Open the setup, and you should arrive at the setup screen. Click Next.
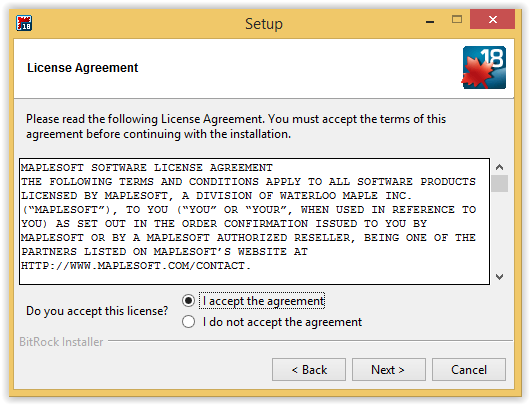
3. On the License Agreement screen, check I accept the agreement and click Next.
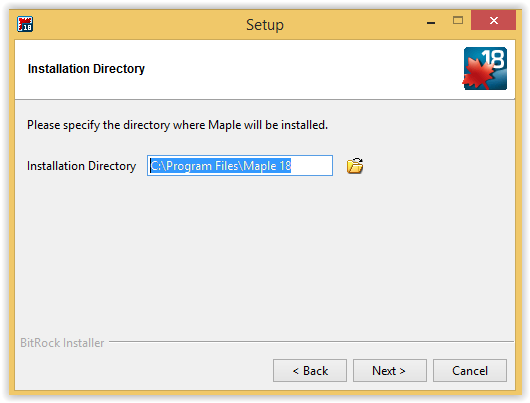
4. Choose the installation directory of your choosing (C:\Program Files\Maple 18 is recommended) and click Next.
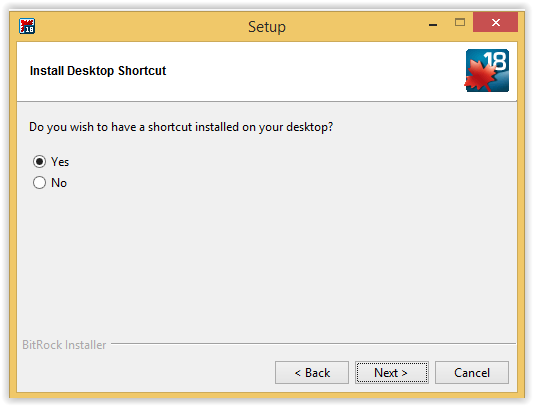
5. In the Install Desktop Shortcut screen, select whether you want a shortcut on your desktop (recommended), and click Next.
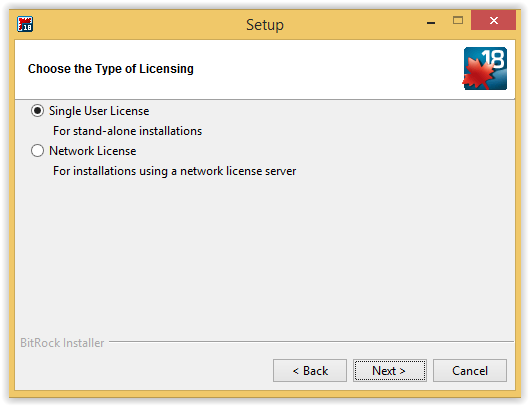
6. On the choose of type of licensing screen, select Single User License and click Next.
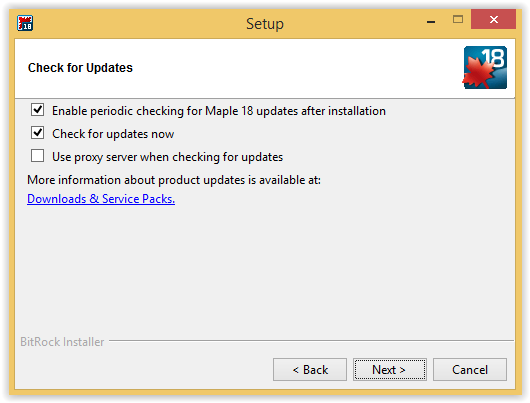
7. On the Check of Updates screenshot, check the first two boxes and click Next.
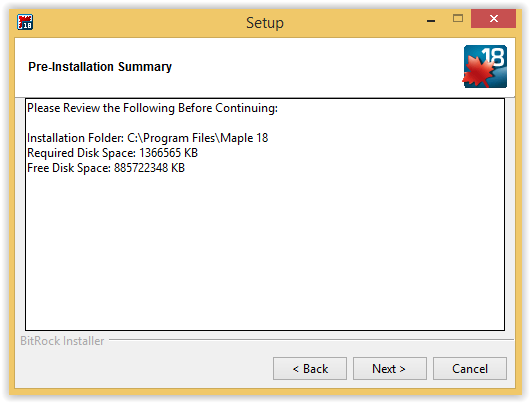
8. On the Pre-Installation Summary screen, click Next.
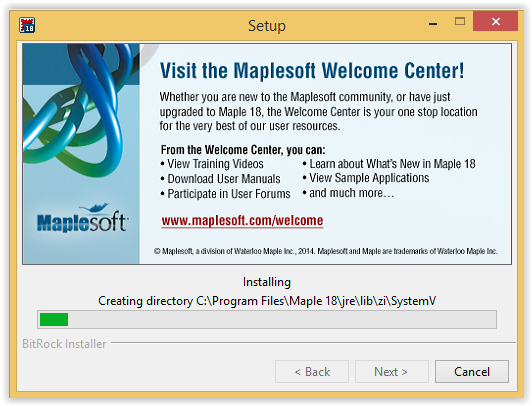
9. Wait for the setup to finish, and Maple18 is finished installing.
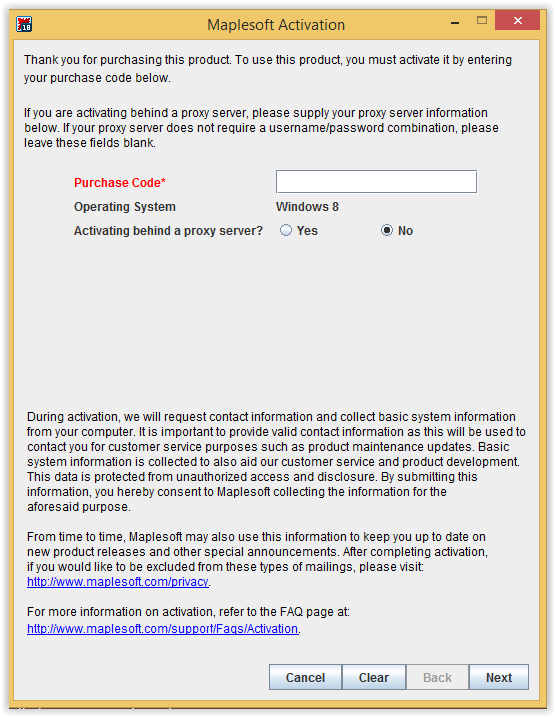
10. After the setup finishes, activate Maple18 by entering your Purchase Code and clicking Next.
11. Maple18 is ready to be used.
Referenced from: Maplesoft.com.
17064
10/17/2025 10:56:49 AM