Outlook 2016: Using Personal Stationery
This article has not been updated recently and may contain dated material.
To Add and Edit Stationery Settings in Windows Outlook 2016
1. Open Outlook 2016.
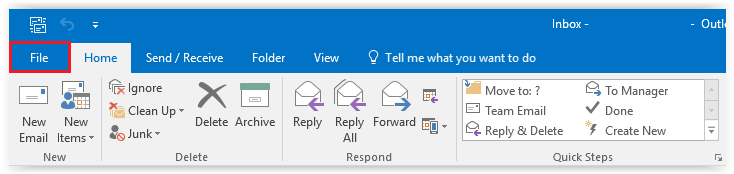
2. Choose File from the toolbar at the top of the screen.
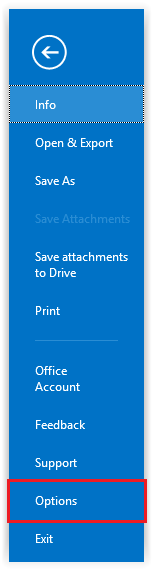
3. Switch to Options on the sidebar.
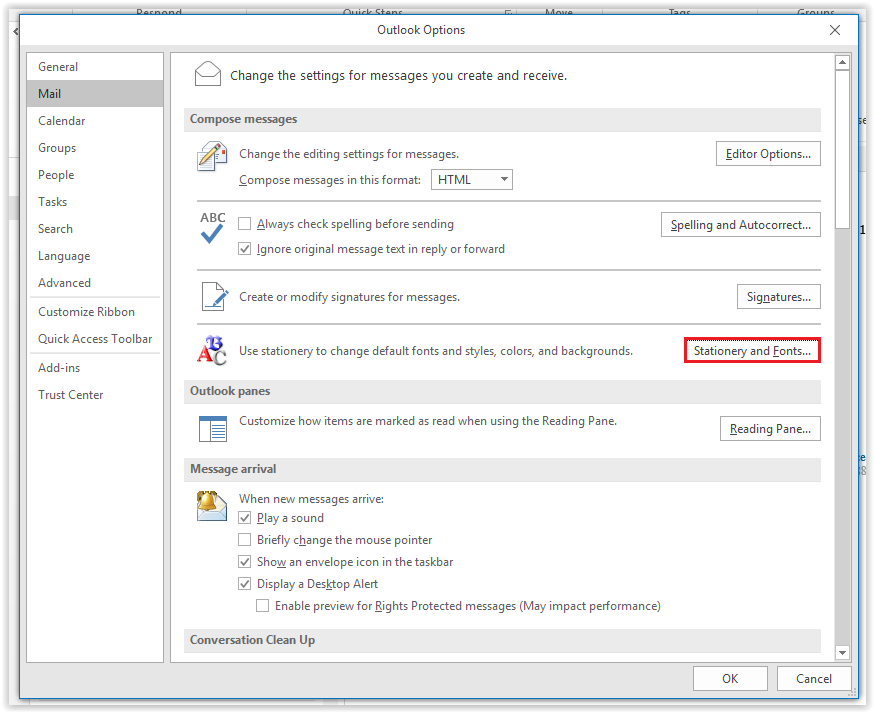
4. A window for Outlook Options should appear. Click Mail | Stationery, and Fonts.
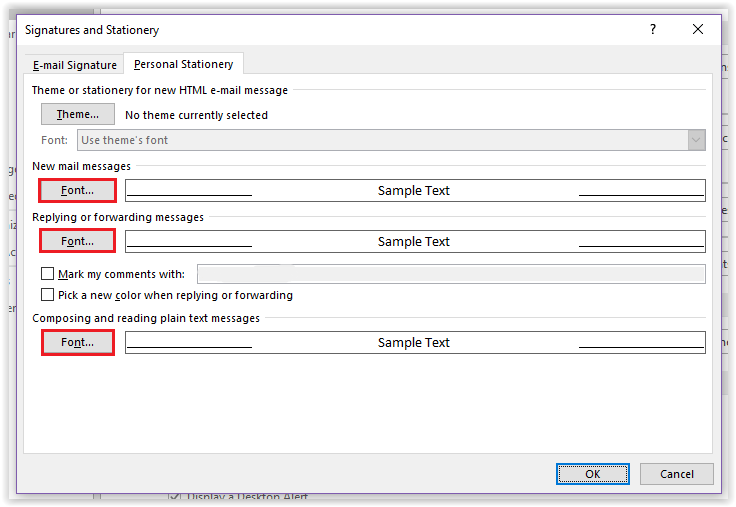
5. In the Stationery window, there are several options for editing stationery. Use the guides below to help with the personalization of Stationery and once complete, move on to Step 6.
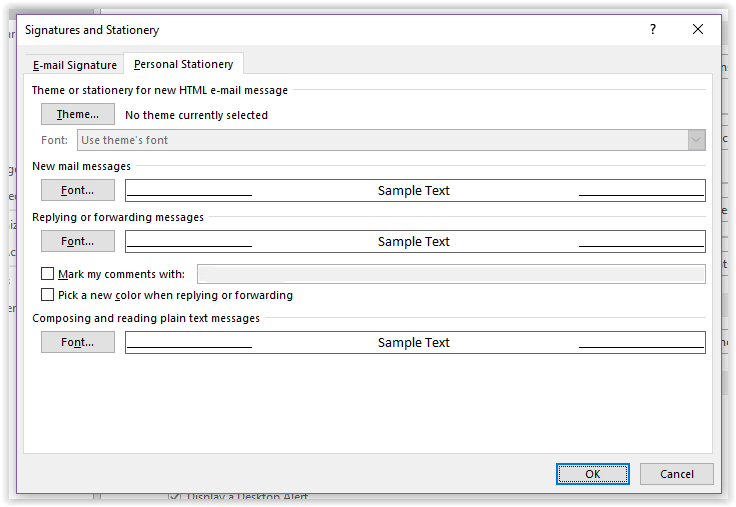
- Theme/Stationery
- Font for New Mail Messages
- Font for Replying or Forwarding Messages
- Mark my comments with: [your name]
- Pick a new color when replying or forwarding
- Font for composing and reading plain text messages.
To Choose a Theme or Stationery:
1. Click Theme in the Personal Stationery window.
2. Choose from the available themes in the Dropdown Menu.
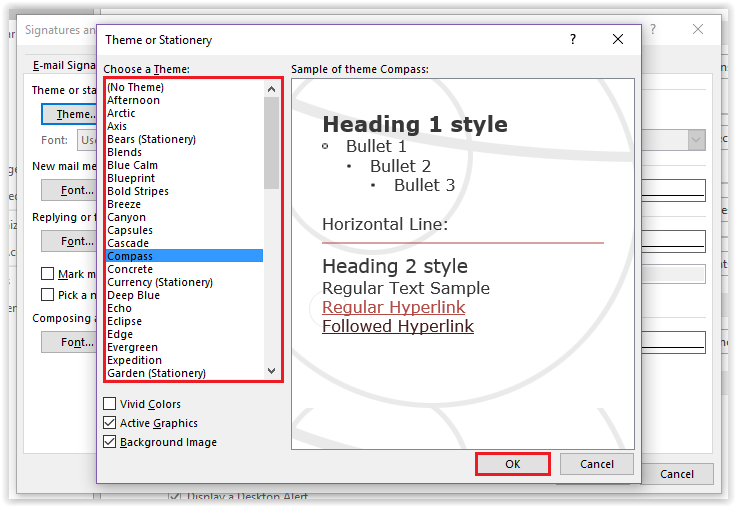
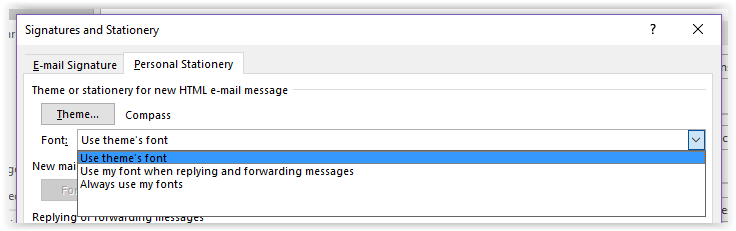
3. Choose whether or not to use the Font from the selected theme, and when finished press OK.
To Choose a Font for Messages:
1. Click Font on either New Mail Messages, Replying or Forwarding Messages, or Composing and Reading Plain Test Messages.
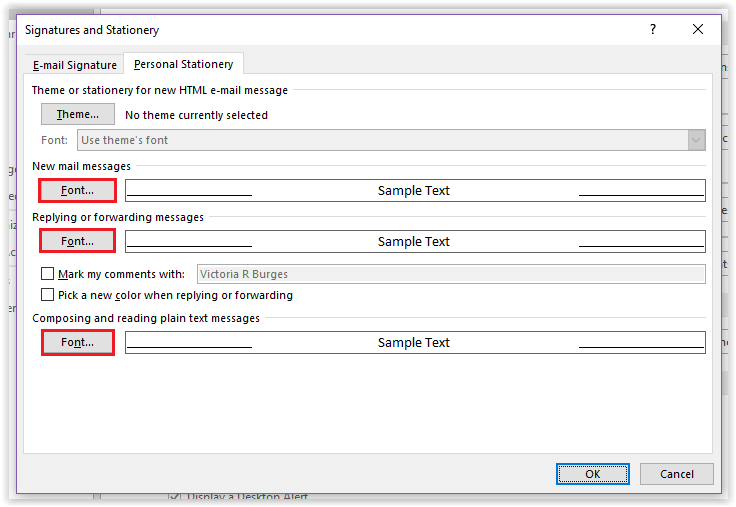
2. In the new dialog box, choose your desired Font. Once finished press OK.
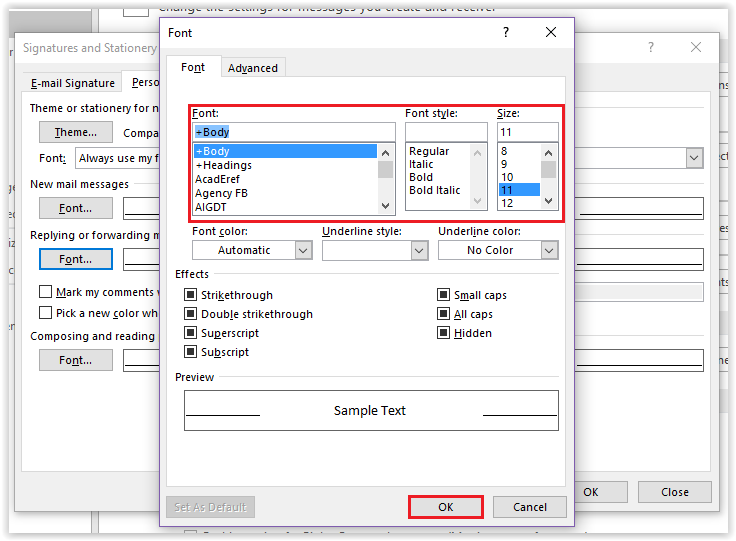
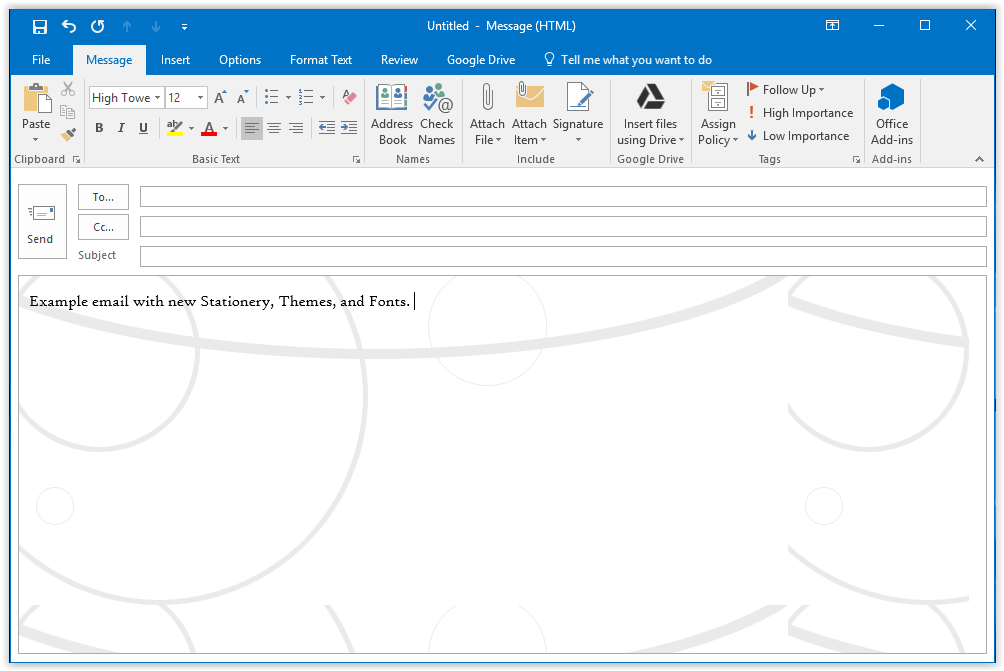
3. The new Stationery and Fonts should appear in all new outgoing emails.
Referenced from: Microsoft
19506
4/15/2024 8:32:29 AM